It’s HOT in Paris. It’s only in the mid-eighties, but I already can’t deal. My American self is learning how to adjust to life without AC, and let me tell you...it is le difficult. One of my strategies to stay cool is by keeping an icy drink within reach at all times. I enjoy cold brewing teas (and coffee). The cold brewing process helps maintain and capture more of the delicate flavors and fragrances that can be lost sometimes when brewing tea in hot water. You can make cold brewed tea with just about any kind of loose leaf tea or tisane. Here are three fabulous recipes for you to try and adapt this summer!
Time: 10 minutes hands on plus 24 hours for brewing
Servings: 4
Ingredients
See recipes below for ingredients
Equipment
Bottle to store tea
Large container to strain tea into
Large fine mesh sieve
Instructions
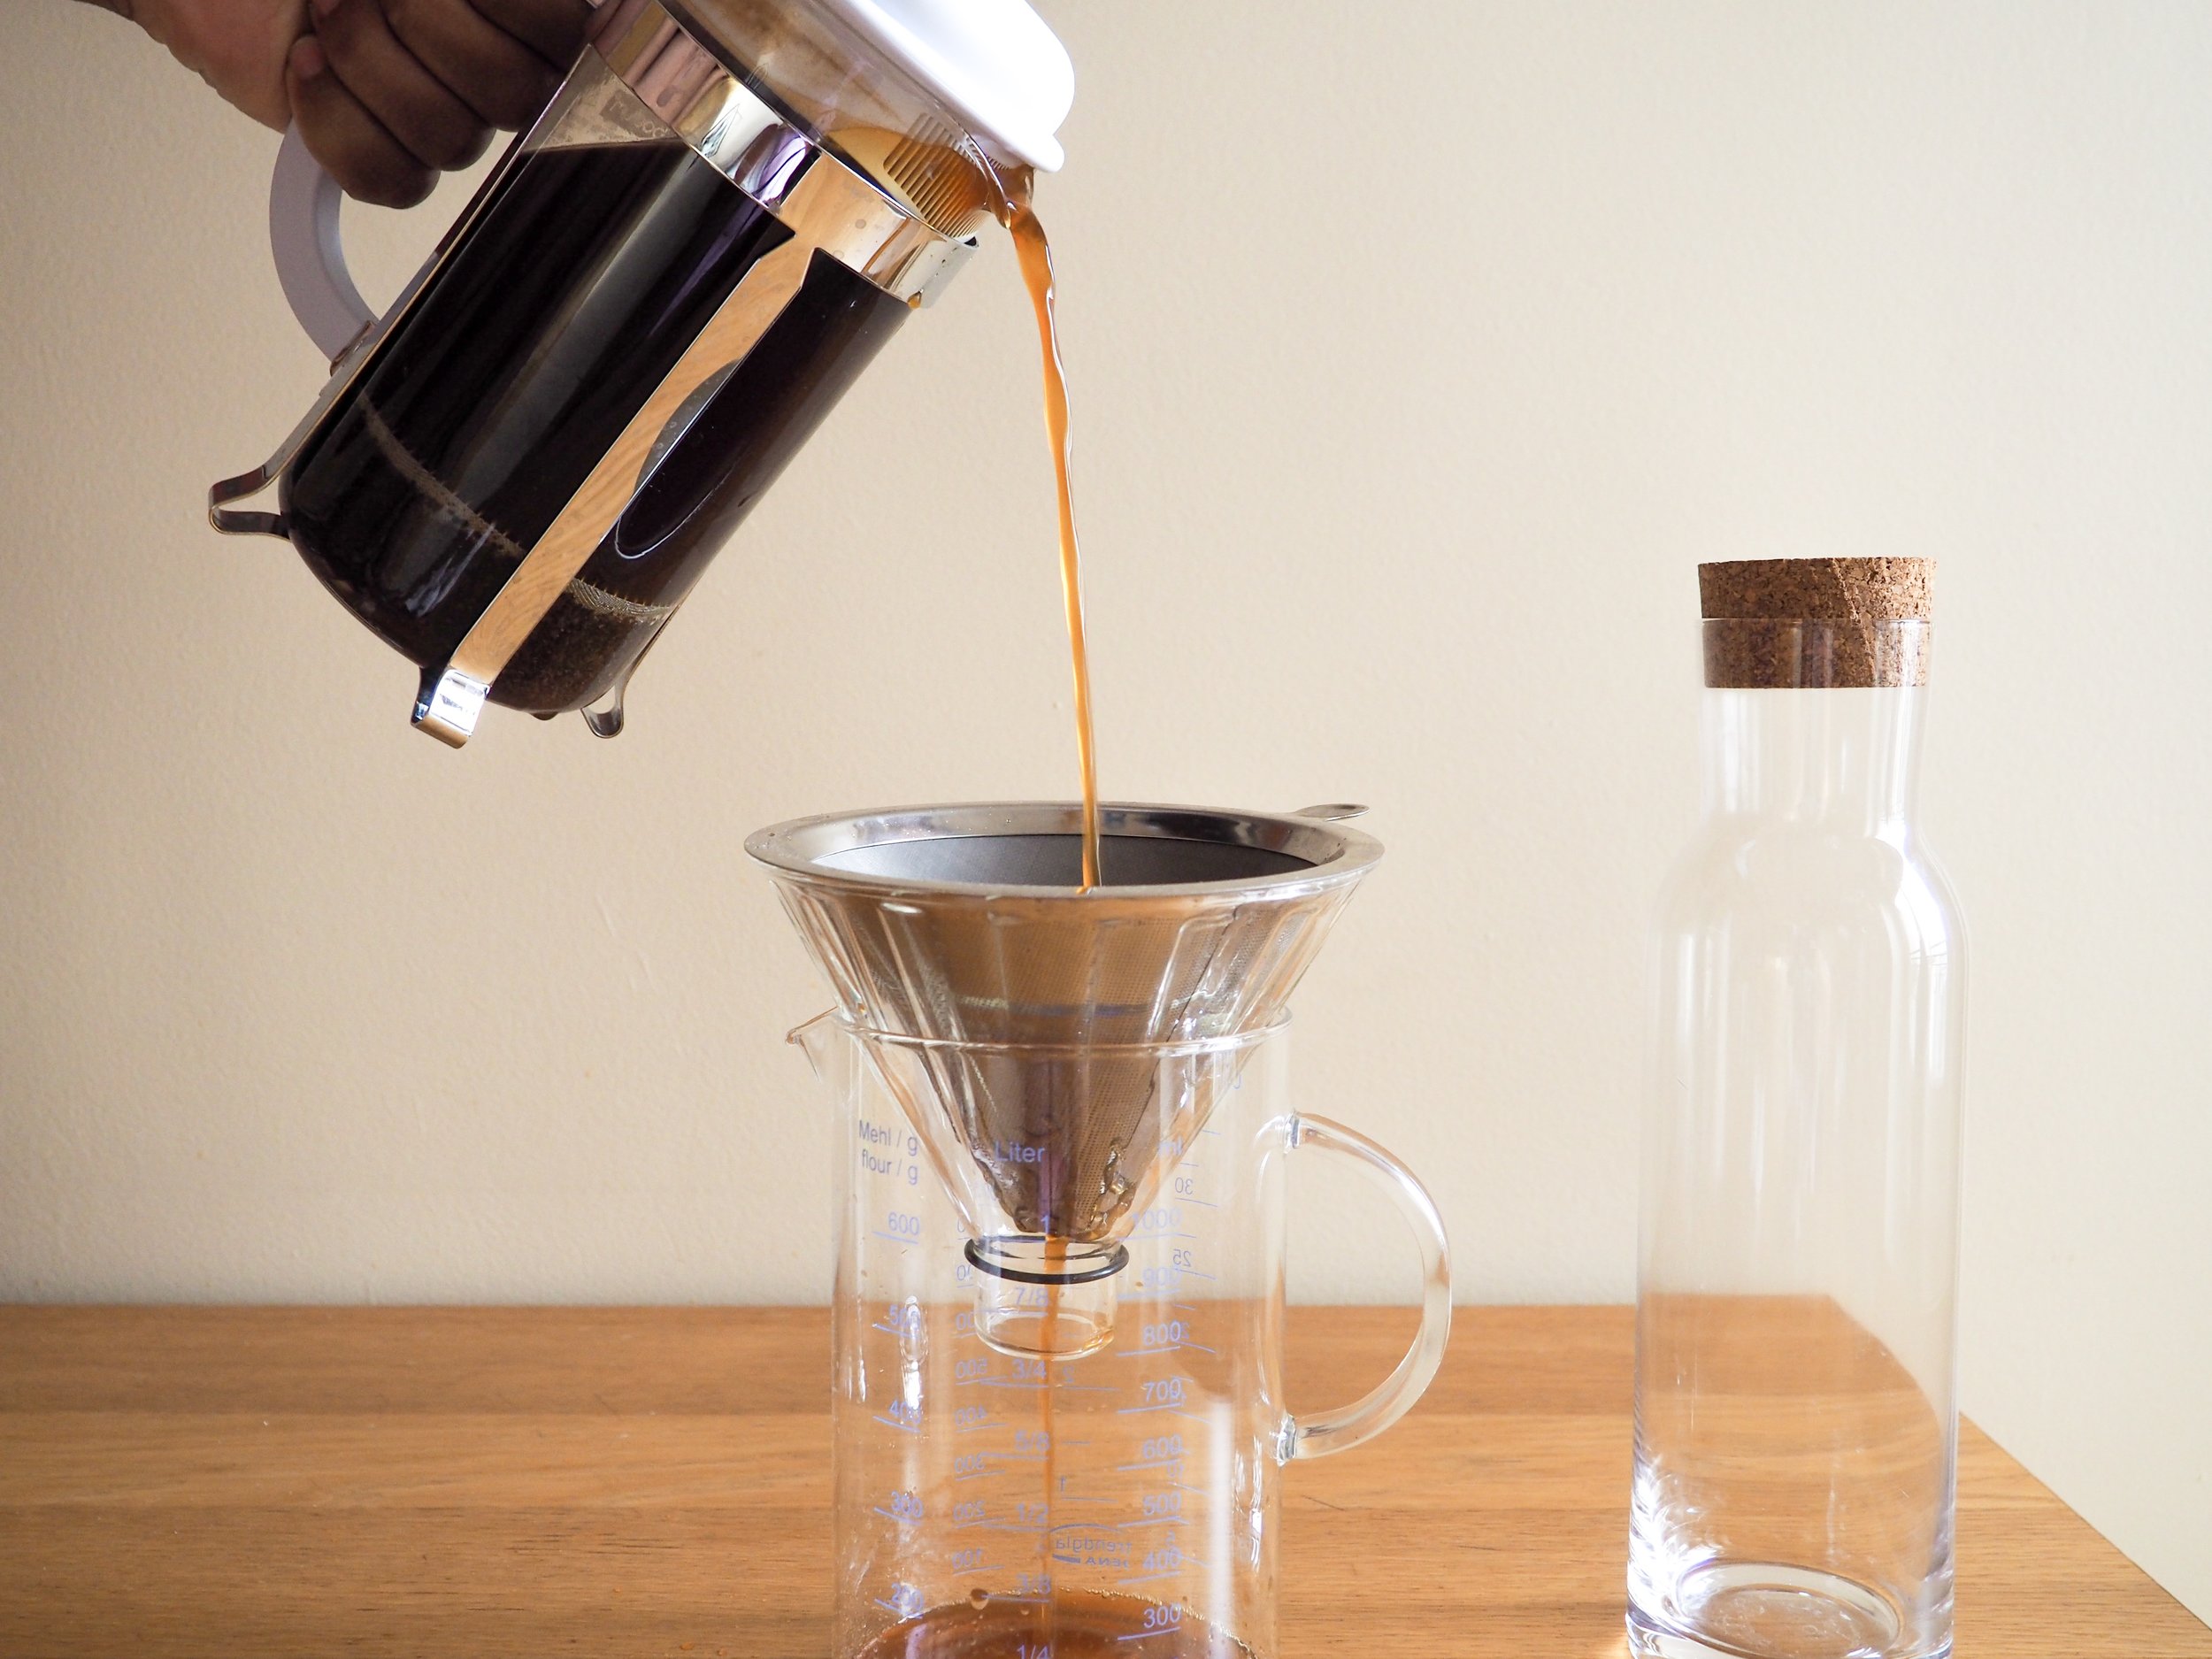
Cold brewing coffee, chai, and genmaicha teas

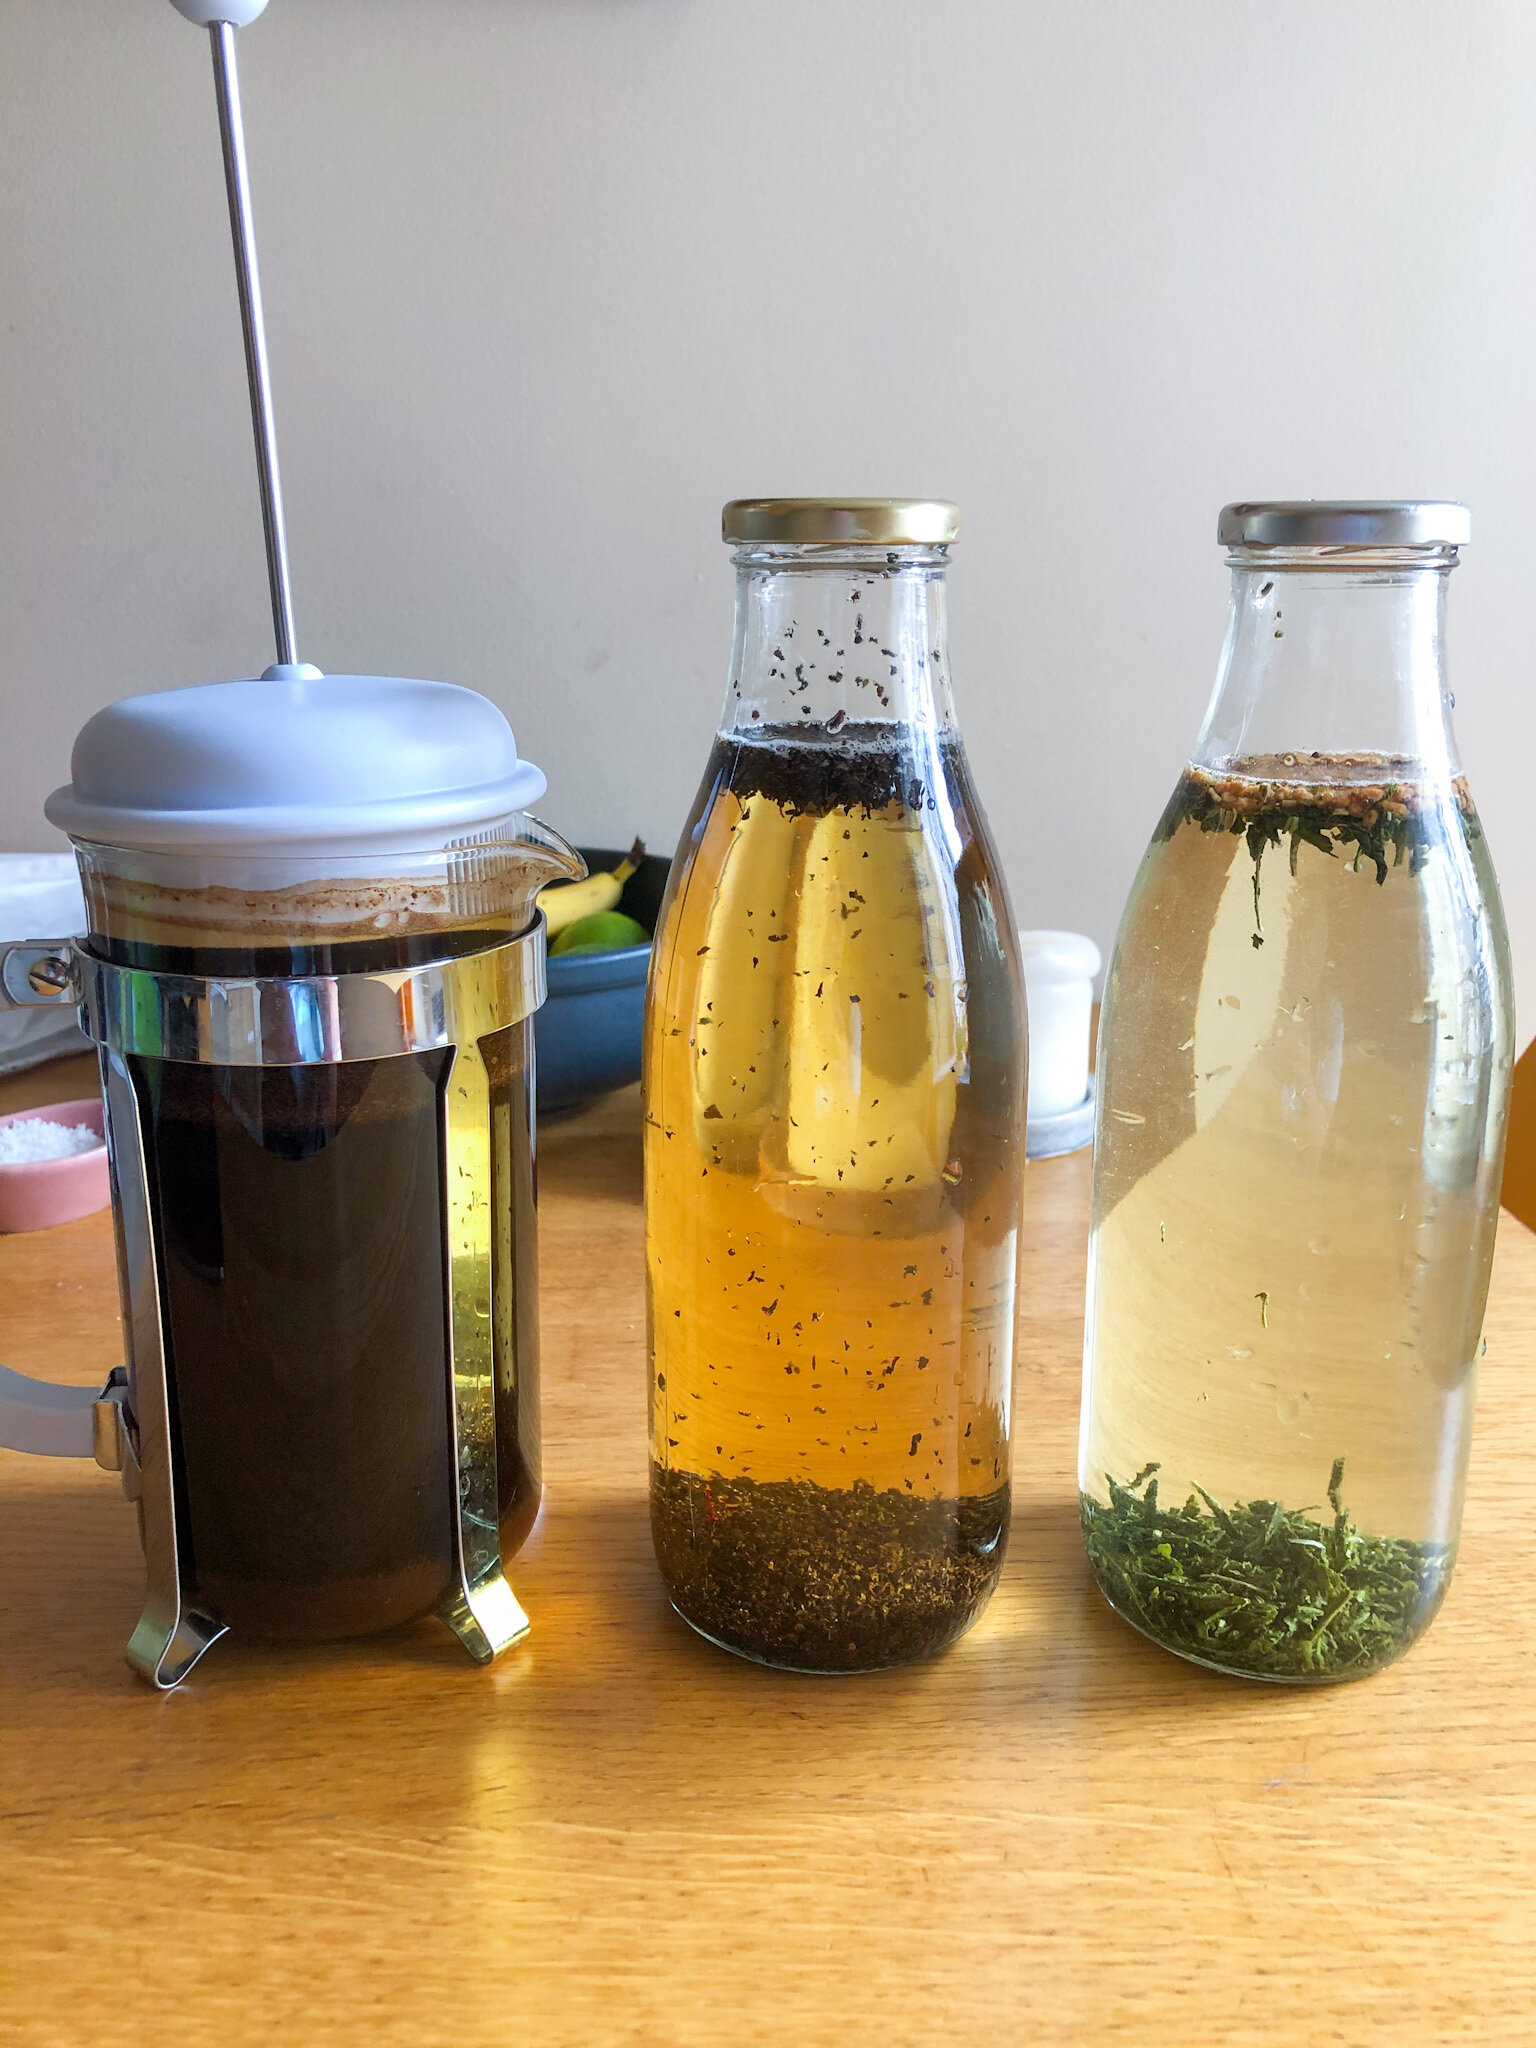
Cold brewed chai and genmaicha tea

A gorgeous tisane with lemon verbena, fuschia, and cassis flowers
Cold Brewing Technique
The technique for cold brewing tea is to add four teaspoons of tea to four cups of cold or room temperature water (1 teaspoon per cup is the ratio that you can adjust to whatever your container holds).
Give the tea a stir. Or, if it’s in a bottle, gently shake to incorporate the tea and water. Brew the tea for 24 hours in the fridge or at room temperature. The benefit to steeping in the fridge is that you’ll have cold tea as soon as you strain it.
After 24 hours, strain the tea into a clean bottle and store. If you don’t have another clean bottle, strain into a bowl or large measuring cup, rinse out the brewing bottle, and pour the strained tea back into the original bottle.
You can cold brew most teas and add spices or herbs as you wish! If you find the tea is too strong, dilute with ice or water and adjust the recipe accordingly in the future. Same advice for if the tea is not strong enough.
Serve over ice and with honey syrup or simple syrup (Bring 1 part honey or sugar and 1 part water to a boil until just dissolved. Cool before serving with an iced beverage).
Iced Chai Tea (Inspired by Yasmin’s Chai Recipe)
I adore Yasmin’s chai recipe, but wanted a cold version for summer. J’adore how the saffron’s opulent herbaceous flavor shines along with the cardamom. Simply add four teaspoons of loose black tea, three crushed cardamom pods, and two generous pinches of saffron into four cups of water. Steep as described above and serve over ice with simple syrup if desired.
Genmaicha
Genmaicha is green tea with toasted brown rice. The rice adds a beautiful nutty flavor and balances the flavors in the green tea. Simply add 4 teaspoons of genmaicha to four cups of water, steep as described above and serve over ice with simple syrup if desired. Be careful not to brew longer than 24 hours or the genmaicha will become thick from the starches in the toasted rice.
Tisane
I learned of tisanes when I moved to France. Tisanes are herbal teas made of local herbs, flowers, and various greenery. I love the different varieties and enjoy having a glass at night when I want something refreshing without caffeine. With tisanes, I find it’s harder to measure with a teaspoon because I’ve often found large leaves that won’t fit into a measuring spoon. I like to use 4-5 big pinches (around a tablespoon per pinch) of the tisane and add it to around 4 cups of water and steep as described above. This gorgeous tisane that I found starts off a blueish purple (due to the cassis flowers) and then turns light brown over time.